Okta SSO
Integrating Okta SSO with Osano
Connecting to Okta SSO
In order for Osano to discover data stored in your systems, we must connect to those data providers via an API. We require, at minimum, read-only access to establish a connection to these providers. Each provider you connect may require different information. Please see the linked vendor documentation for instructions on where and how to obtain this data.
Prerequisites
- User must have
readpermissions to all applications within Okta at minimum.- The scope is called
okta.apps.read.
- The scope is called
- In order to use this integration for DSAR, the user must have read permissions to okta users.
- The scope is called
okta.users.read.
- The scope is called
- Have your Okta API token and subdomain information ready.
- Please note that the API token will inherit the permissions of the user that creates it.
- For more information on creating an API token, please refer to the Okta documentation.
Step by step guide
-
Access Data Mapping Settings:
- Navigate to the Data Mapping page in the Osano application.
- Select Sources from the left-hand navigation menu.
-
Select SSO as Source type
-
From the available SSO sources, select
Okta. -
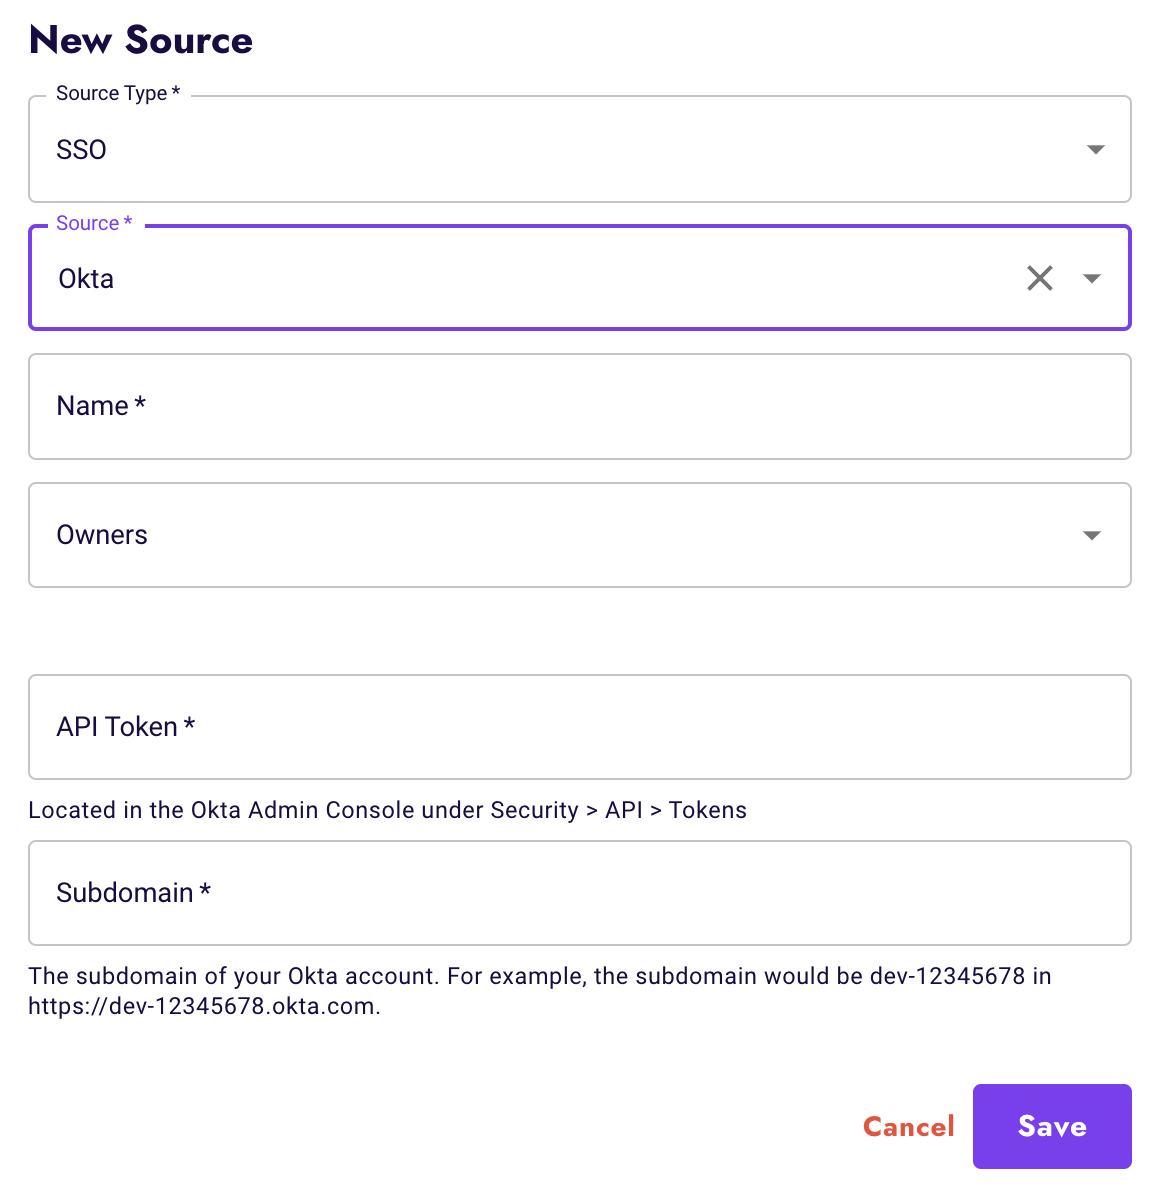
Configure Okta SSO Integration:
- Follow the on-screen instructions to configure your Okta SSO integration.
- Enter your Okta subdomain.
- Enter your Okta API token.
- Click Save.
-
View Okta SSO Integration:
- Once saved, you will see your Okta SSO integration in the list of configured SSO sources.
- Your integration will include apps that already exist in your Okta environment.
-
Click into the Applications to view the applications that synced from Okta.

-
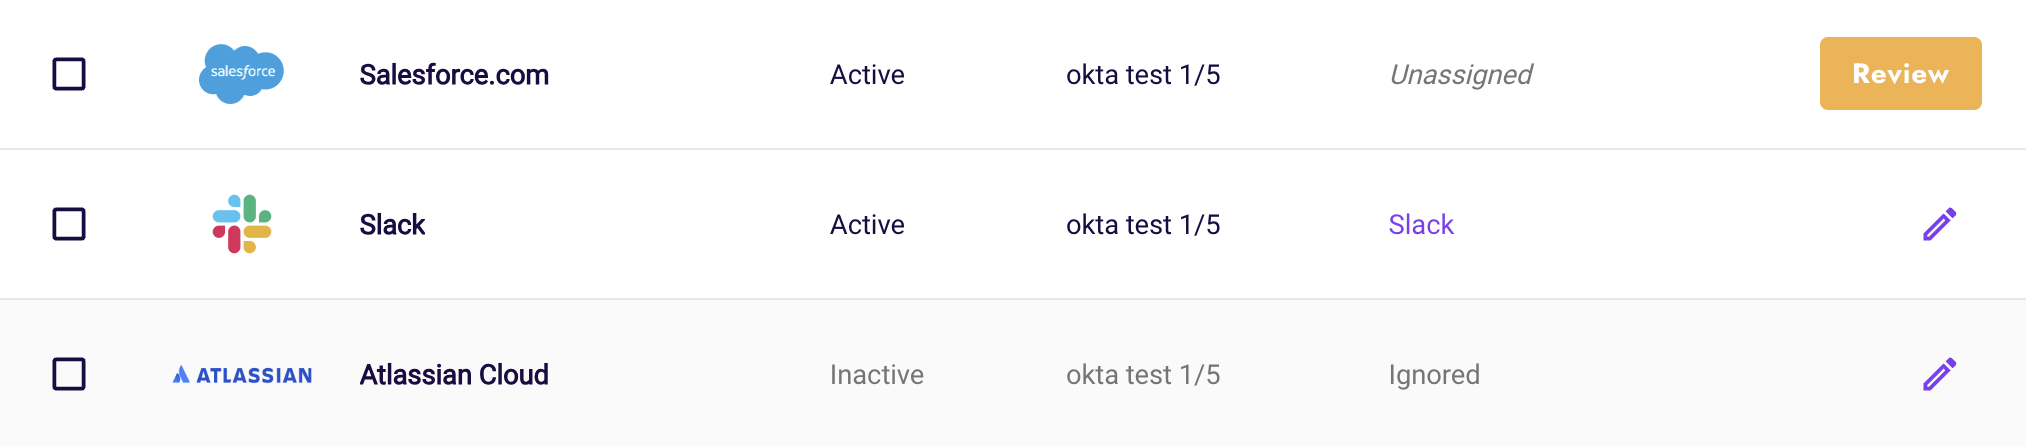
Create a new data store:
- To proceed with creating a new data store, click on
Review. - Follow the prompts to create a new data store.
- To proceed with creating a new data store, click on