JumpCloud SSO
Integrating JumpCloud SSO with Osano
Prerequisites
- User must have access to the JumpCloud admin console located at https://console.jumpcloud.com.
-
From the user options menu (located in the upper right corner of the JumpCloud admin console), select
My API Key.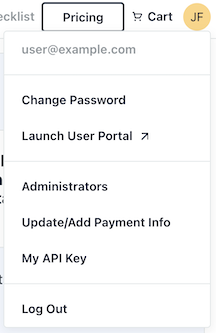
-
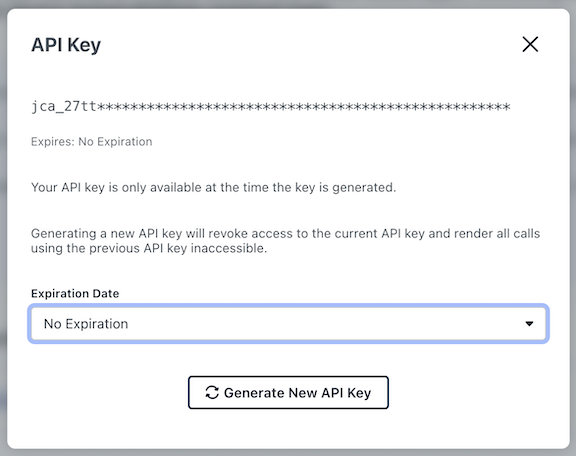
Choose a valid expiration date a click "Generate New API Key"
- You may choose any expiration date that you would like, but we recommend a date that is at least 1 year in the future.
-
Copy the generated API Key to your clipboard.
Step by step guide
-
Access Data Mapping Settings:
- Navigate to the Data Mapping page in the Osano application.
- Select Sources from the left-hand navigation menu.
-
Select SSO as Source type
-
From the available SSO sources, select
JumpCloud. -
Configure JumpCloud SSO Integration:
- Follow the on-screen instructions to configure your JumpCloud SSO integration.
- Enter your JumpCloud API Key.
- Click Save.
-
View JumpCloud SSO Integration:
- Once saved, you will see your JumpCloud SSO integration in the list of configured SSO sources.
- Your integration will include apps that already exist in your JumpCloud environment.
-
Click into the Applications to view the applications that synced from JumpCloud.
-
Create a new data store:
- To proceed with creating a new data store, click on
Review. - Follow the prompts to create a new data store.
- To proceed with creating a new data store, click on